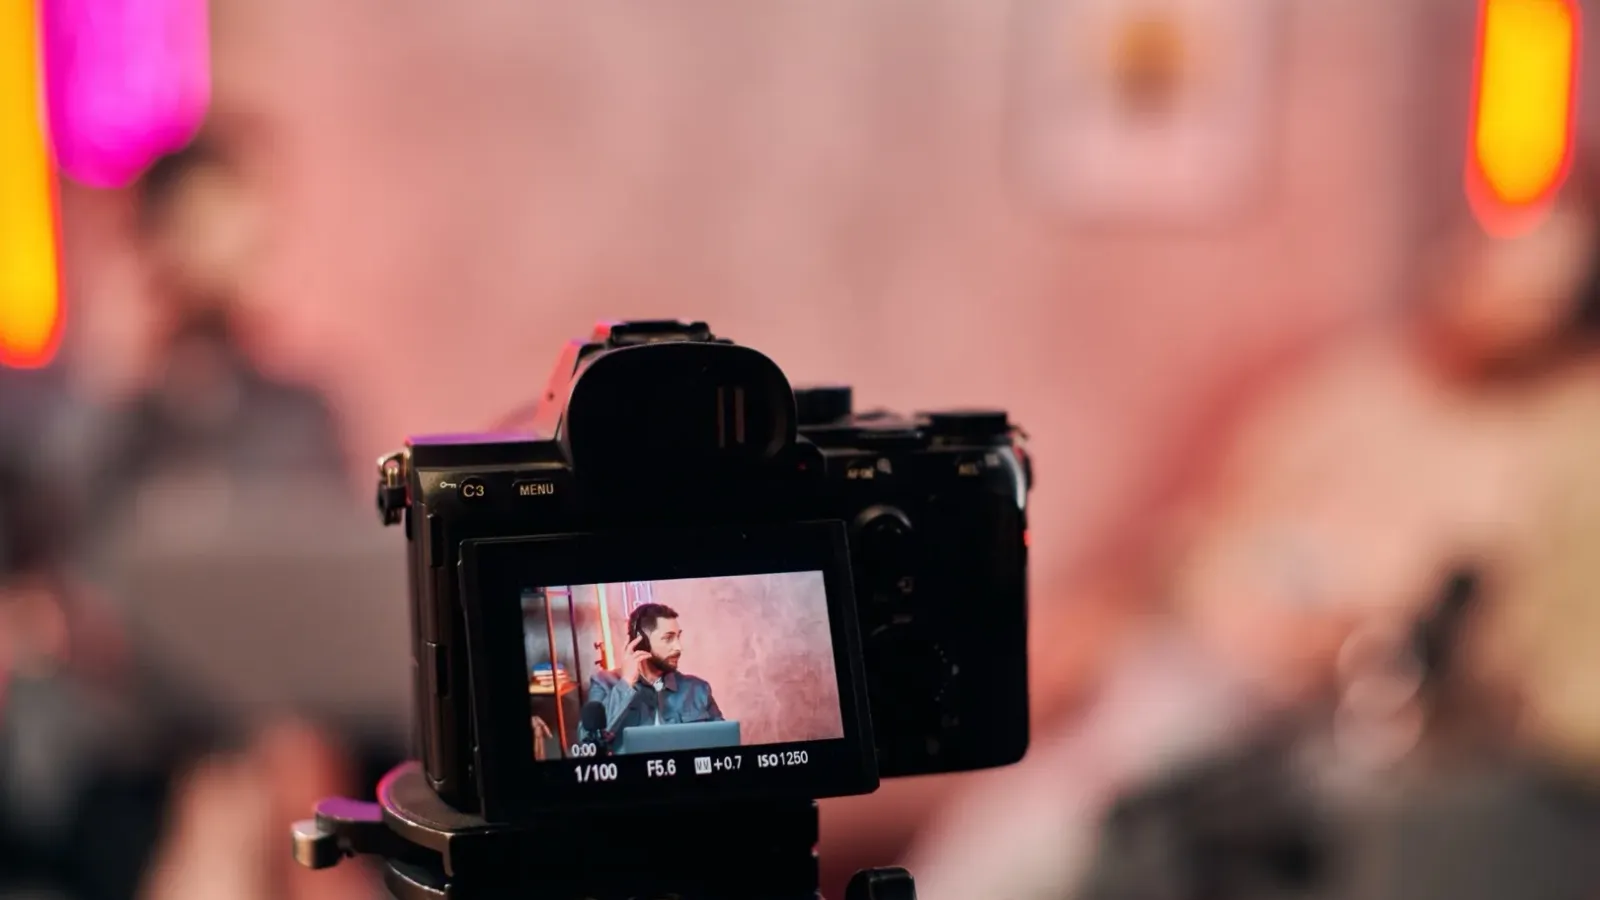
Platform Acting·Jun 28, 2026·7 min read·Updated Jun 29, 2026
A great performance can be thrown out before anyone watches it. If a casting director can't hear your dialogue, can't see your eyes, or can't open your file, the read never gets a fair hearing. Production quality won't book the role for you — but production mistakes will lose it.
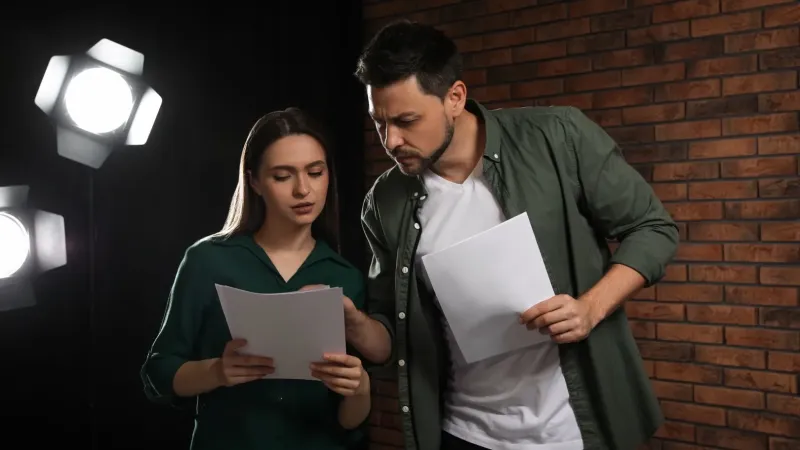
This guide is the technical half of the self-tape: framing, lighting, sound, background, kit, and the file itself. For the acting — choices, objective, reader, slating — read the companion piece on how to nail your self-tape audition. Here we make sure the tape is clean enough that the performance is all anyone notices.
Framing and headroom
Default to a mid-close shot: roughly from the chest to just above the top of your head, with a small amount of headroom — not a tight passport crop and not your full body marooned in the frame. Unless the brief asks for a full-body or wider shot, this is the standard.
Shoot in landscape, not portrait — casting watch on widescreen monitors.
Camera at eye level. Looking up your nose or down at you both distort the read; raise the phone or camera to your eye line.
Leave room on the eyeline side. Stand or sit so the side you're playing toward has a little more space than the back of your head.
Stay still in the frame. Constant swaying or stepping pulls focus; lock your position so the performance moves, not the picture.
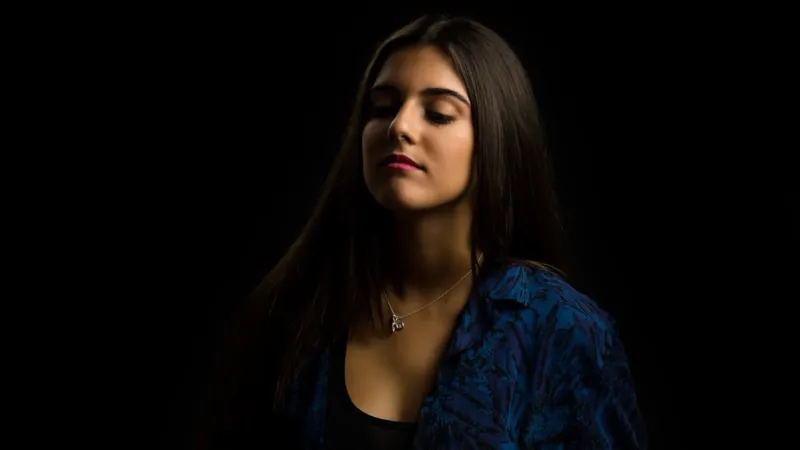
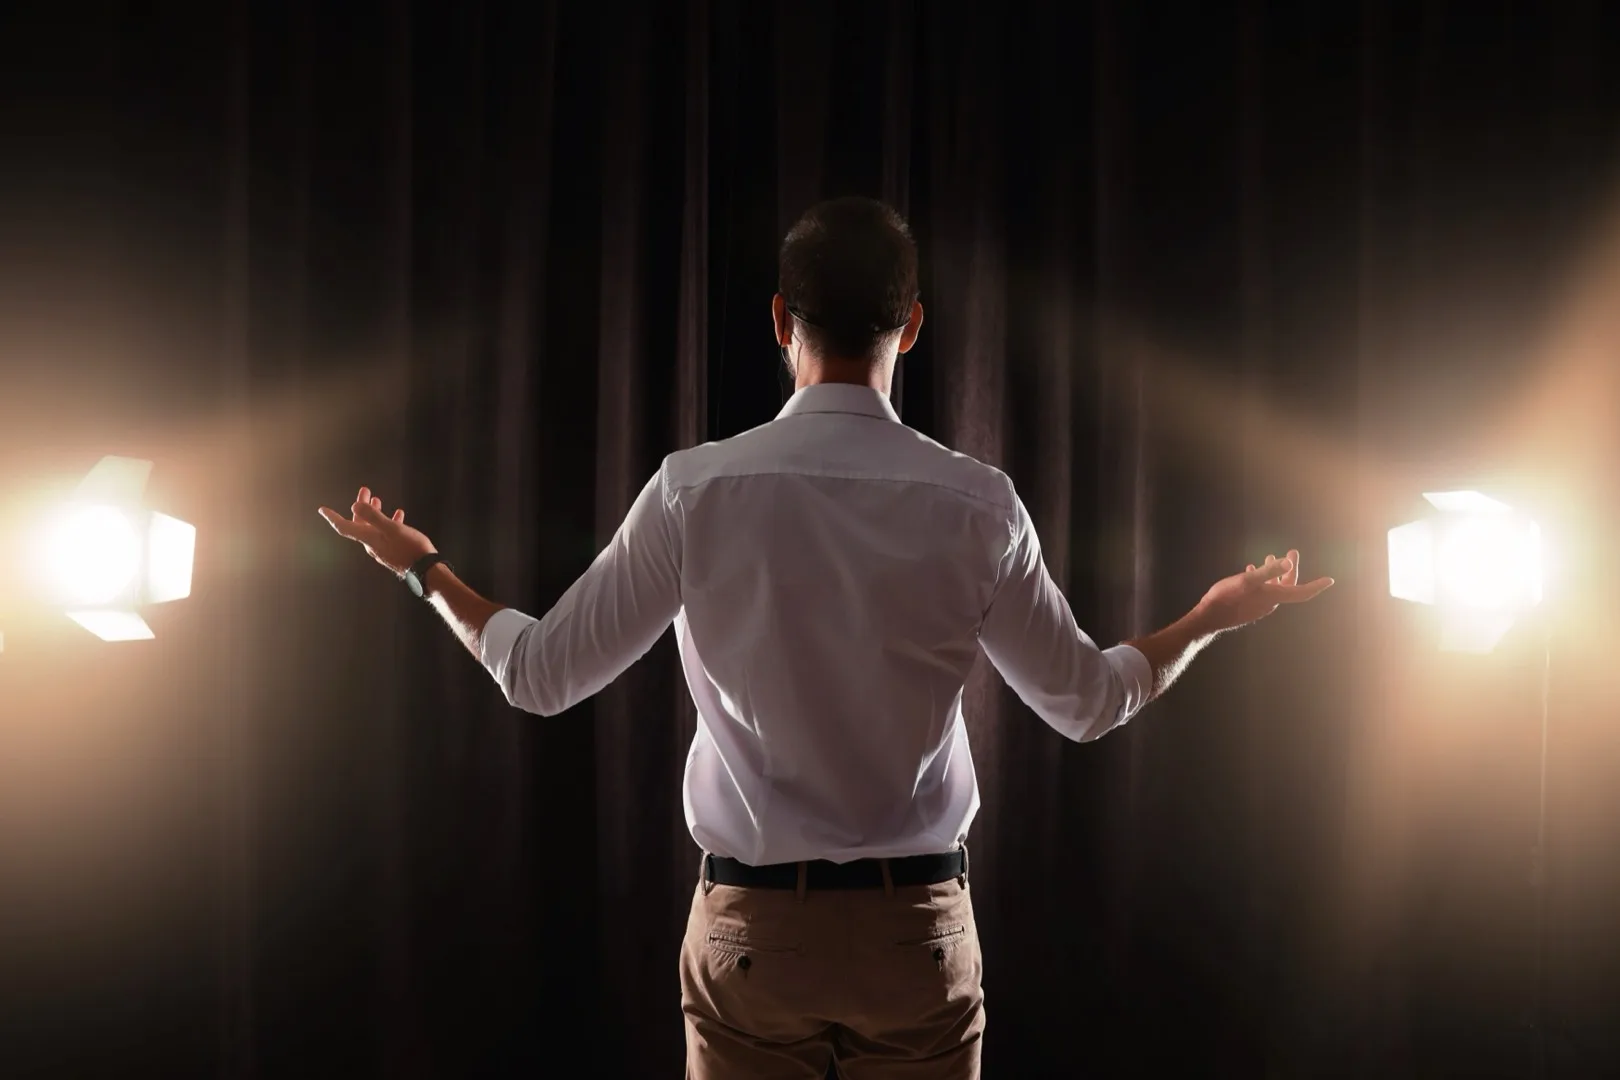
Lighting: get your eyes lit
The goal is soft, even light on your face with no harsh shadows — and above all, lit eyes. Casting need to see your eyes; that's where the performance lives.
Use a window as a soft key. Face a large window (or stand at 45 degrees to it) for naturally soft, flattering light. Never put the window behind you — that backlights you into a silhouette.
No window? Use a soft source. A ring light or an LED panel diffused through a softbox or even a white sheet does the job. A two-light setup — a stronger key and a softer fill at roughly 45 degrees, slightly above eye level — removes shadows.
Avoid hard, small, direct light (a bare bulb, direct sun, an undiffused phone torch). It carves sharp shadows across the face.
Check for catchlights — the small reflections of your light in your eyes. If you can see them, your eyes are lit.
One more thing worth doing: record a ten-second test and watch it back at the distance casting will. Shadows you don't notice up close — under the brow, beneath the nose — often read as exhaustion or distortion on screen. Raising the key light slightly and adding a touch of fill usually clears them. Casting Networks' beginner's guide to self-tapes makes the same call for soft, even light over anything dramatic or moody.
Sound: this is what actually gets tapes cut
Bad sound kills more self-tapes than bad lighting. Casting will tolerate a slightly under-lit picture; they will not sit through dialogue they have to strain to hear. Spotlight's guide to self-taping makes the same point — get close to the mic and kill the room noise.
Record in the quietest room you have. Turn off fridges, fans, air conditioning, and notifications; wait out passing traffic and planes.
Tame the echo. Bare rooms reverberate. Soften the space with curtains, rugs, a bed, or blankets nearby.
Use an external mic if you can. A cheap lavalier or a shotgun mic placed close to your mouth but out of frame beats any built-in phone mic. If you only have the phone, sit close to it.
Always monitor a test. Record ten seconds, play it back on headphones, and check levels and sync before you commit to a full take.
Background: neutral and clean
You want nothing in the frame competing with your face.
Plain, mid-tone wall. Soft grey, blue, or muted green are easiest to work with; pure white can blow out and black can swallow you.
Clear the clutter. Remove photos, posters, shelves, and signs. A clean wall or a wrinkle-free sheet hung tight works fine.
Keep separation. Stand a step or two off the wall so you don't cast a hard shadow onto it, and so the light wraps around you.
Mind the colour cast. A boldly coloured wall throws that colour back onto your skin; neutral tones keep you looking like yourself.
The point of the background isn't to look expensive — it's to disappear. If a viewer would notice the wall before they notice your eyes, simplify it.
Phone vs camera: any budget works
You do not need a cinema camera. A modern smartphone shoots more than enough quality for a self-tape — casting directors expect phone tapes and judge the picture, not the brand.
Budget
Camera
Light
Sound
Zero
Phone, landscape, on books
Window
Quiet room, phone close
Low
Phone + tripod
Ring light or LED panel
Clip-on lavalier
Higher
Mirrorless / DSLR
Two-point key + fill
Shotgun mic
Spend in the order that protects the read: sound first, then lighting, then the camera. A phone with a good mic and a window beats an expensive camera in a noisy, dark room. Lock your phone's exposure and focus before you roll so it doesn't hunt and shift mid-take, and clean the lens — a smudge softens the whole image. For the broader picture of building a self-tape that books, Backstage's guide to the perfect self-tape covers the same priorities.
The file: format, naming, and editing
This is where careless tapes get filtered out before they're watched, often automatically. Casting directors may sort through 200-plus videos per role, so the file has to be clean and correctly labelled.
Format and export:
Export 1080p (HD) at 24, 25, or 30fps — avoid 4K and 60fps, which bloat the file for no benefit.
Use MP4 (H.264). Keep files under 500MB and send via a link (WeTransfer, Dropbox, or your casting platform's uploader) rather than email.
Don't over-compress — heavy compression shows as grain on a large casting monitor.
Naming: label your name first, then the project and scene. A reliable pattern:
FirstName_LastName_Project_Role_Scene_Take
Editing — keep it invisible:
Trim the heads and tails so the clip starts clean and ends a beat or two after your final line.
No music, transitions, filters, or effects — no fades, wipes, or colour grades. Plain cuts only.
Submit the slate as a separate clip from the scene unless told otherwise, so casting can review each independently. The common self-tape editing mistakes worth avoiding are almost all about adding things that distract from the performance.
A pre-send checklist
Landscape, mid-close, camera at eye level
Eyes clearly lit, soft light, no harsh shadows
Dialogue clean, room quiet, no echo, levels checked on headphones
Plain, uncluttered, mid-tone background
1080p MP4, under 500MB, correctly named
Heads/tails trimmed, no effects, slate as a separate file
Watched the whole thing back one final time
Once your setup is dialled in, it's the same every time — so the only variable left is the acting. On Platform Acting you can run a take through AI performance feedback scored consistently across tone, expression, body language, and emotional delivery, have a qualified coach verify the read, and submit through the actor self-tape workflow. Create a free account to try it, or see how it works. When the technical side is handled, the performance is all that's left to win — and that's covered in how to nail your self-tape audition.
Frequently asked questions
How should I frame a self-tape audition?
Default to a mid-close shot, from your chest to just above the top of your head, shot in landscape with the camera at eye level. Leave a little more space on the side you're playing toward, and stay still in the frame so the performance moves rather than the picture. Only go wider or full-body if the casting brief asks for it.
What's the best lighting for a self-tape at home?
Soft, even light on your face with your eyes clearly lit and no harsh shadows. Face a large window as a soft key light, or use a diffused ring light or LED panel — a stronger key and softer fill at about 45 degrees works well. Never put the window or light behind you, which turns you into a silhouette.
Do I need an external microphone for a self-tape?
It helps a lot — bad sound gets more tapes rejected than bad lighting. A cheap clip-on lavalier or a shotgun mic placed close to your mouth but out of frame beats any built-in phone mic. If you only have a phone, record in the quietest room you can, reduce echo with soft furnishings, and sit close to it.
Can I record a self-tape on my phone?
Yes — a modern smartphone shoots more than enough quality, and casting directors expect phone tapes. Mount it in landscape on a tripod at eye level. Spend on sound first, then lighting, then the camera: a phone with a good mic and a window beats an expensive camera in a noisy, dark room.
What file format and name should I use for a self-tape?
Export 1080p MP4 at 24, 25, or 30fps, keep it under 500MB, and share it via a link rather than email. Name the file with your name first, then project, role, scene and take — for example FirstName_LastName_Project_Role_Scene_Take. Clear labelling matters because casting may sort through hundreds of files per role.
How should I edit a self-tape?
Keep editing invisible: trim the heads and tails so the clip starts clean and ends a beat after your last line, and use plain cuts only — no music, filters, fades, or transitions. Submit the slate as a separate clip from the scene unless told otherwise, then watch the whole thing back once before sending.